
Dedicated to pushing innovation in splitboarding since 2006.
866.725.2085
Email: sales@sparkrandd.com
Spark R&D
P.O. Box 3284, Bozeman, MT 59772 USA
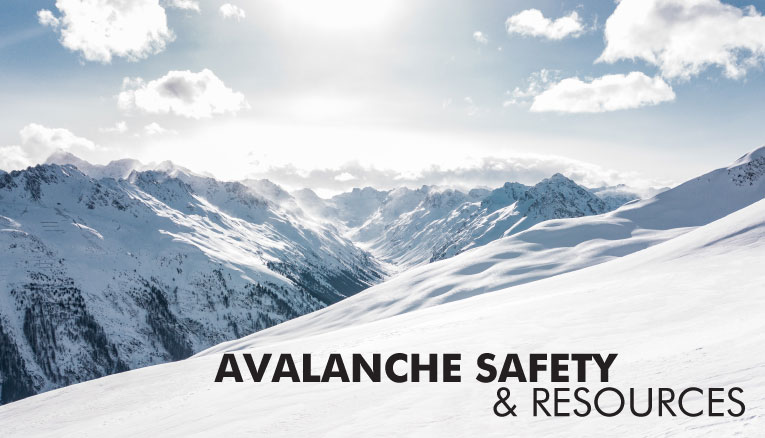
There is a ton of avalanche safety and education information available. So much so that it can be a little overwhelming. This page is meant as a resource for you (the backcountry traveler) to access a lot of valuable avalanche information in one place. Note that none of the information provided should be used as a substitute for taking an actual avalanche education course.
Please remember, avalanche education is not a one-stop shop, it is a lifelong endeavor. Don't forget to support your local avalanche center! If you'd like an easy way to support your local center you can make a donation by purchasing a sweet t-shirt or hoody.

Step 1: Get the Gear
Step 2: Get the Training
Step 3: Get the Forecast
Step 4: Get the Picture
Step 5: Get Out of Harms Way


North America: AIARE, American Avalanche Association, Avalanche.org, and Avalanche Canada
Europe: France, Austria, Switzerland, Germany, and Italy
Southern Hemisphere: New Zealand, Australia, Argentina and Chile

Step 1: Get the Gear
- Always carry a transceiver, probe, and shovel in the backcountry to help you find a buried partner and be found
- Always carry your gear on your body with your transceiver turned on
- Consider riding with an inflatable pack to increase your chances of staying on top of an avalanche
- Practice with your gear regularly. Seconds count and your gear only works when you can use it confidently and efficiently in bad conditions
- Carry the gear and supplies you need to survive an injury or a long evacuation in winter conditions
- Be able to communicate with your partners and rescuers
- Remember that your gear helps you have a safer and more fun day - it does not guarantee your safety
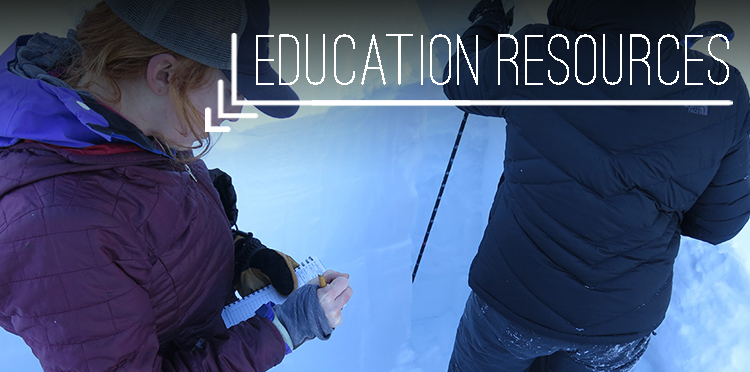
Step 2: Get the Training
- Take an avalanche class and learn the basics of:
- Different kinds of avalanches and how they occur
- How terrain choices and changing weather impact your safety
- How to travel in avalanche terrain to minimize your risk
- How to make smart decisions as a group
- How to rescue one or more buried people
- How your actions can impact the safety of other groups
- Learn how to provide first aid to an injured member of your party
- Keep your skills current
- Read
- Study accident reports
- Take refresher classes
Step 3: Get the Forecast
- Go to Avalanche.org to find your local avalanche center and get the forecast before you go out
- Note the avalanche problems you expect to find and understand how different problems require different tactics
- Be aware of any control work planned for where you intend to ride
- Conditions can change quickly and some riding areas are not covered by up-to-date forecasts - be prepared to assess conditions yourself
- Do the research - be prepared with maps, understanding of the terrain, and reports from others
- Create a riding plan before you head out:
- Set objectives and restrictions based on forecast conditions and group desires and capability
- Make sure everyone understands the plan and agrees with it
- Let someone know where you plan to go and when you plan to return
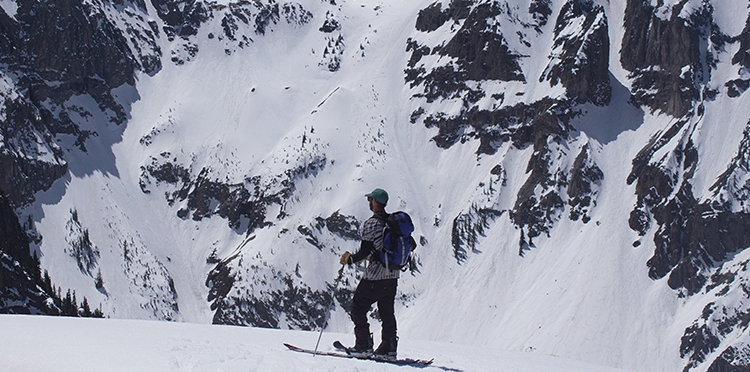
Step 4: Get the Picture
- Be aware of hazardous or changing conditions
- Recent avalanche activity
- Changing wind, snowfall, and temperature
- Cracking or collapsing snow
- Recent wind deposited snow
- Does what you see on the ground match the forecast?
- Conditions can change quickly and forecasts are not guarantees - re-assess as you go
- Use test slopes
- Low consequence
- Representative aspect and elevation
- Interactions with other groups - be aware of
- Groups above you
- Groups below you
- Roads & buildings below you
- Control work nearby
- Never intentionally trigger an avalanche unless you are sure the area below is clear
- Group dynamics
- Is anyone outside their comfort zone?
- Is the group discussing options and concerns?
- Identify safer and more hazardous terrain and minimize your exposure
Step 5: Get Out of Harms Way
- Only one person on a suspect slope at a time
- Don't help a buddy find a lost ski or get unstuck in hazardous terrain
- Cross or ride suspect slopes one at a time
- Don't stop in an area exposed to avalanche hazard
- Watch each other, eat lunch, and regroup out of the way of a potential avalanche
- Stay in contact with one another
- Voice
- Visual
- Don't enter a closed area or any place undergoing control work
- Know what terrain traps are and avoid them

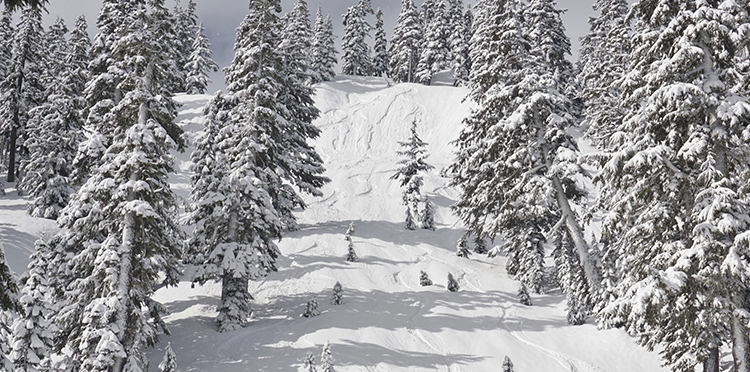
 Recent Avalanches
Observing natural avalanches (non-human triggered) in the backcountry is an immediate sign of slope instability. Extreme caution should be taken if there are signs of recent avalanche activity on slopes with a similar aspect or elevation that you are looking to ride.

New Snow
90% of avalanches happen within 24 hours of a storm cycle. It is very difficult to predict how a newly formed slab will react to a trigger. An extremely conservative approach should be taken during and immediately following a storm.
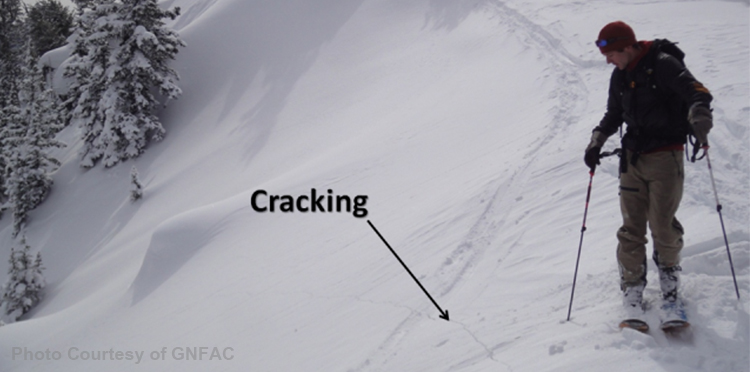
 Collapsing or Cracking in the Snowpack
When a layer in a slab collapses it can create a whomfing noise - this is the air compressing out of a weak layer. From the National Avalanche Center, "This is the sound of nature screaming in your ear that the snowpack is very unstable". Cracks are sometimes seen shooting through the snow away from a skin track or the path you are making while riding down a slope. This is another sign of unstable snow.
Rapid Temperature Rise
Anytime there is a rapid change in temperature the snowpack can become unstable. This is a more frequent occurrence during the spring, but can happen anytime during the winter.
5. Strong Winds, Blowing and Drifting Snow
Snow is easily transported by the wind and when it is deposited it can form wind slabs. These slabs add weight to a snowpack and can make it easier to cause a weak layer in the snow to fail. Pay close attention to wind direction, especially where it is coming off of ridges.
